Linking Briskport with Crisp: Step-by-Step Guide
Welcome to the first step of your Briskport journey! Linking Briskport with Crisp is an integral phase that ensures your chat data flows smoothly between the two platforms. By following this guide, you'll create a seamless channel for your live chat data, facilitating its export directly to your warehouse.
Prerequisites
Before you begin, ensure you have:
- An active Briskport account. If you don’t have one yet, sign up here.
- An active Crisp account. If you’re new to Crisp, create an account.
Step-by-Step Instructions
1. Generate an Authentication Token
Navigate to Briskport's platform URL and log in.
Once logged in, go to the Settings section.
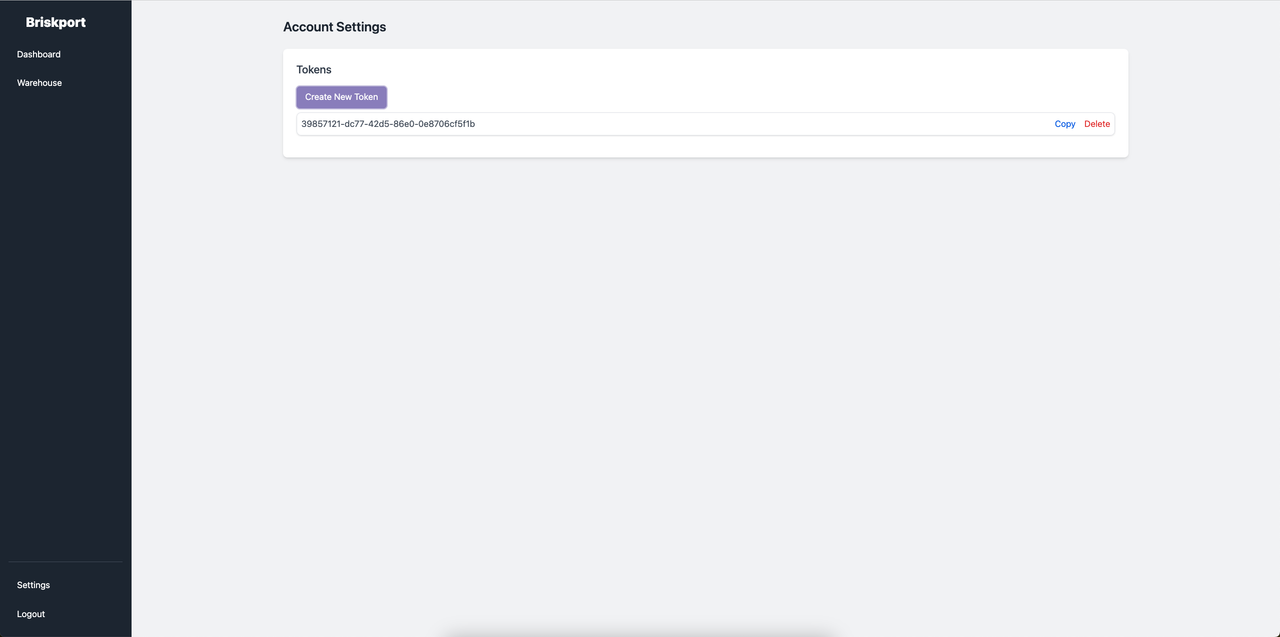
Locate and select the option to generate a new authentication token.
Store this token in a safe place; you'll require it in the subsequent steps.
2. Install the Crisp Plugin
Go to the Crisp marketplace or navigate directly to briskport.com.
Look for the Crisp Plugin.
Click on the Install button.
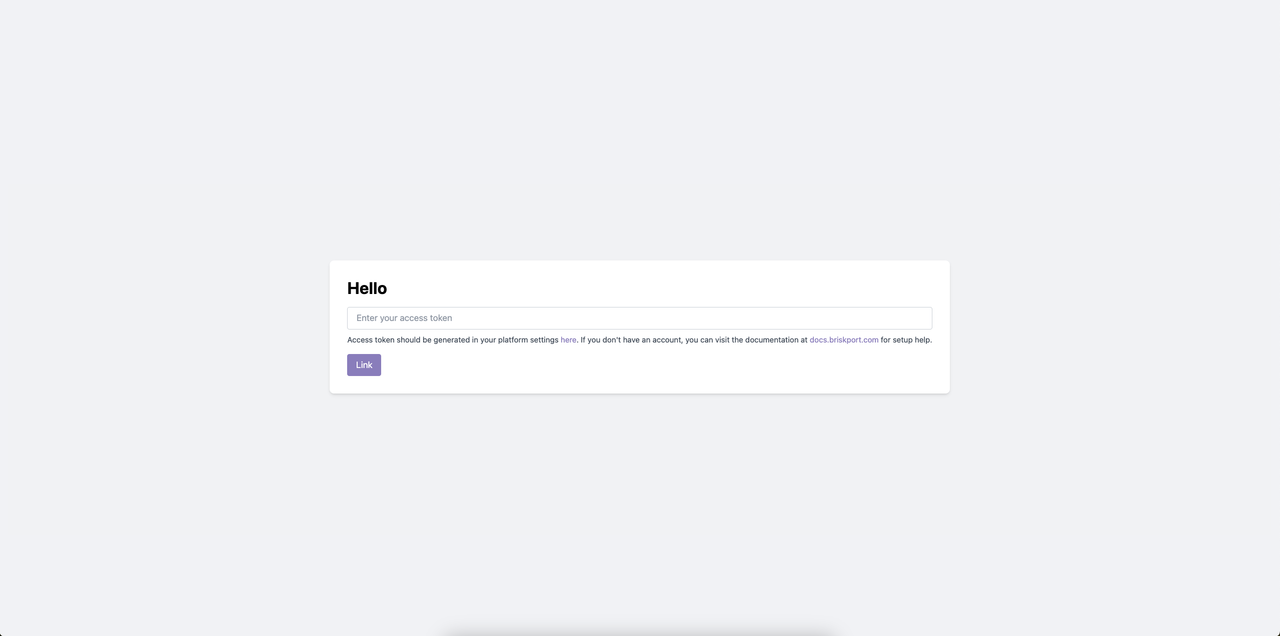
When prompted, enter the authentication token you generated earlier.
Complete the installation by following the on-screen prompts.
Please ensure the provided URL and screenshot align with the corrected instructions.
With these steps completed, your Briskport account should be effectively linked with your Crisp site, paving the way for effortless data transfers. Should you encounter any challenges or have questions during this process, contact our dedicated support team for assistance.